Veganbaking.net
Vegan Baking Articles
Vegan Baking Guides
Building Your Vegan Kitchen, Part 3: Useful Baking Tools
Building Your Vegan Kitchen, Part 3: Useful Baking Tools
0
Comments (2)
By now you may have decided to try this whole vegan baking thing and unlike most other hobbies, noticed how satisfying it is to voraciously consume the results when it works out. If you haven't been consuming the fruits of your labor in secret, perhaps the boss is a little farther away from laying you off in these hard times due to the ongoing appearances of your apple struedel at the office. In conclusion of our series, we give you Part 3 of Building Your Vegan Kitchen where we divulge the useful tools that make vegan baking more convenient, cost effective and fun.
In Part 1 we recommended essential cookware for your vegan baking kitchen.
In Part 2 we showed you what essential ingredients work well in a vegan kitchen.
The tools in this article aren't necessities if you're a casual baker but will save you effort and time if you're willing to take your baking to the next level.
Food Processor
Nary a day goes by that I don't use my food processor. Used for everything from chopping nuts to making frostings to cutting fats into dough, your hand held mixer might get a little jealous when your food processor shows up on the scene. I used to think that they were a gimmicky joke until I realized that I just had to own one to finally find out. I don't know how I got along without it.My food processor has paid for itself several times over from the money I've saved from hummus alone. Instead of buying it at the store I was able to make it for the last decade at one third the cost. Your food processor will save you time when it comes to things like chopping nuts for muffins. It will be less mess than a blender for pureéing baked sweet potatoes for a pie. It may even save you money because these conveniences will make it more fun to make food instead of buying it pre made at a higher price.
Oil Mister
Years ago I discarded all of my non-stick cookware because the coatings were flaking off into my food and into my body. Non-stick cookware always gets the most praise when it's brand new. The only old non-stick cookware I've ever seen that has still been in good condition has been in kitchens where it was rarely used. Due to the desire for longer lasting cookware and foregoing the health risks of non-stick cookware flakes, I've switched over to stainless steel and cast iron for my pots, pans and griddles.One of the minor downsides to stainless steel and cast iron cookware is that you have to take extra precautions so foods don't stick. This involves coating the cooking surface in a light film of vegetable oil that won't burn and oxidize at high heat levels. Canola oil works great for this. The oil coating needs to be as thin as possible on the cookware, otherwise cooking won't be even and your food may absorb too much oil, making it soggy. There's a large selection of disposable oil misters on the market for this purpose. Unfortunately, many of them contain chemical propellants which also ends up in your food. Many of these disposable misters are also non-recyclable.
Reusable oil misters are extremely useful because you can fill them with your oil of choice. After filling, the mister is pumped several times and can be used to coat griddles for pancakes, pans for sauteing, muffin pans, etc. Just be sure to discard the extra oil every few months so the oil doesn't get rancid.
Oil misters help you save time because you don't have to manually coat your cookware with oil with a paper towel or pastry brush. You save money if you use disposable oil misters because you only need to buy one. Your food will also taste better if you switch to an oil mister instead of over-coating your cookware with oil.
Digital Scale
In commercial baking and in Europe, the scale is what you use for dry measure as opposed to dry measuring cups. Why? Because a scale measures volume by weight and dry measuring cups measure volume by size. If you're baking in small batches for home use, dry measuring cups will do fine except when you're making things that more closely relate to chemistry than baking. Candy making falls into this category. It's the opposite of cooking where you can just throw salt over your shoulder and into the cauldron of boiling stew without measuring it.With fudges, brittles, caramels and chocolates, exacting measurements are key. I prefer digital scales that are low and flat instead of traditional scales. Digital scales can switch between measuring units by the touch of a button. Most of them have a feature called Tare where you can place your mixing bowl on top of the scale then set the weight to zero before adding your ingredients. This works great when measuring large quantities of things like flour. Since it's also flat, you can forego the bowl and measure 2 oz of chocolate pieces if you need to.
The scale will make candy making easier because you will be confident that you're using the proper amount of ingredients. If you decide to bake in larger quantities or bake recipes from Europe, the scale will be there for you. I even use mine to measure the weight of packages before I ship them.
Digital Candy Thermometer
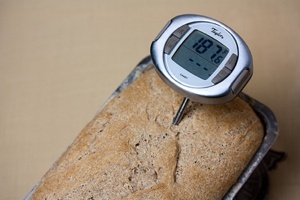
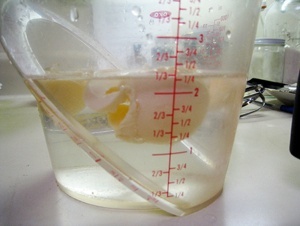
The candy thermometer is another tool that is essential for candy making. When making fudges and brittles you will need to know where and for how long to apply specific heat. Differences of a few degrees can make or break your efforts. Before candy thermometers were invented people determined the level of caramelization of their sugar syrup by using the Cold Water Test. This involved taking a small amount of the hot sugar syrup, dropping it in cold water and waiting to see what the consistency was. This is more time consuming and less accurate than using a candy thermometer because you have to take measurements at regular intervals to make sure your sugar syrup is getting to the desired consistency. Some people still use the Cold Water Test and I respect their diligence. A candy thermometer improves accuracy, increases convenience and saves time. It may also save you some pain; getting splashed with 200F sugar syrup can only truly be remedied by later eating that much more fudge to compensate for the pain.Pastry Bag and Tips
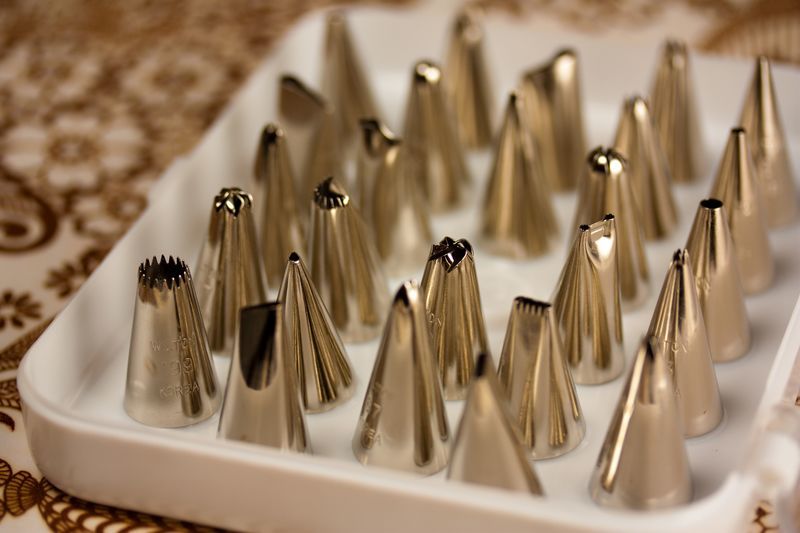
Frosting cakes with a frosting knife is so elementary. Why not take it to the next level and get a pastry bag and several fun tips so you can make your cakes look like they came from the local pastry shop? This is where baking and art collide. I recommend you practice on cardboard so you don't ruin Aunt Betty's birthday cake by accidentally making maple leaves that look like marijuana leaves. I recommend the silicone pastry bags because they are reusable.Microplane Premium Classic Series Graters
These name brand abrasive tools look like oversize nail files or really small cheese graters depending on who you talk to. Microplane Classic Premium Series Graters come in different course grades. Grinding whole spices are done on a fine microplane. For lemon zest where you want to get the yellow of the lemon peel which contains the most essential oils you would use a medium microplane. Dusting your chocolate mouse in chocolate flakes would be done by shaving dark chocolate with a coarse microplane. After getting a microplane or three, you may turn into a lemon zest snob and scoff at how normal zesters get the white part of the lemon; too bitter for your foodie taste buds but perfect for decorative purposes like on top of lemon sorbet.Cheesecloth
This fine cotton mesh is a godsend from everything from filtering the pulp out of juices, aging vegan cheese and removing excess water from tofu. It's also great for covering the top of a small bowl where you're propagating wild yeast for bread. A cheesecloth only costs a few dollars. Your baking adventure could be cut short if you need one and don't have it. There are few ways get around not needing one if the recipe calls for it. Using your clothing is not an option even if it is a vintage band t-shirt. I prefer finer mesh cheesecloths to more loose woven ones.Glass Jars and Containers
Big mouthed glass containers are extremely convenient in a kitchen because they keep your ingredients fresher for longer. They also allow you quicker access to your ingredients because you don't have to unwrap things like flour bags and spill it everywhere. I prefer large glass containers in 1 liter sizes or more so I can buy larger quantities of bulk foods which save me more money. Bulk ingredients also reduce my environmental footprint because I generate less packaging waste.Through my years of baking I've discovered several tools that reduce hassle, increase the quality of my baked goods and most importantly, maximize my level of fun in my vegan kitchen. I hope these tools allow you to do the same.
What baking tools do you swear by in your kitchen? Let us know be commenting below.


