Veganbaking.net
Vegan Baking Recipes
Vegan Bread Recipes
Vegan Enriched Bread Recipes
Vegan Yeasted Enriched Bread Recipes
Wild Yeasted Wheat Bread
Wild Yeasted Wheat Bread
1
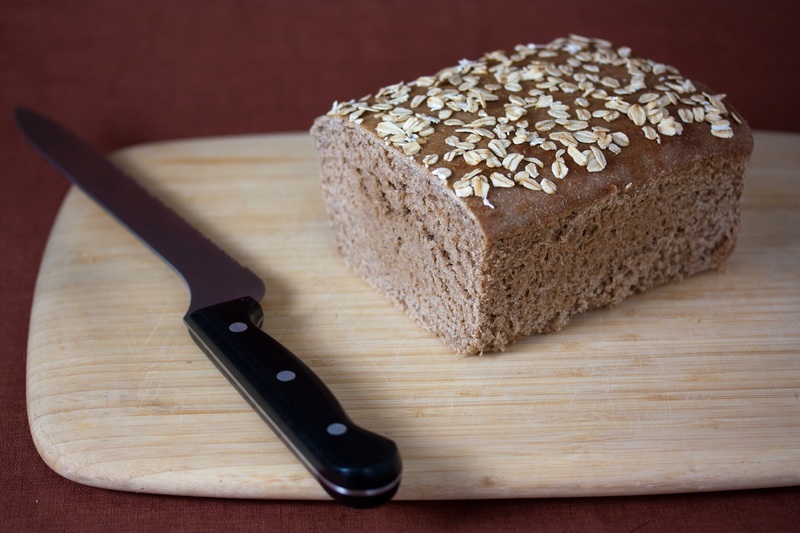
This Wild Yeasted Wheat Bread recipe, also known as sourdough bread uses a wild yeast sponge to leaven the dough, creating a multitude of complex flavor compounds in the process. Be sure to read and cultivate your wild yeast starter and sponge before starting this vegan bread. Sandwich breads baked in loaf pans are usually baked at lower temperatures around 350F (177C) to 375F (191C) and 'enriched' with things like sweeteners, oil and extra salt. Artisan breads formed and baked without loaf pans are baked at higher temperatures around 400F (204C) to 475F (246C) where the heat allows extra flavors to be developed. Taking this into account, your bread recipe and baking process will be slightly different depending on which method you choose. This recipe gives you options for both styles.
Find more Wild-yeasted recipes on Veganbaking.net
Wild Yeasted Wheat Bread Recipe
1 wild yeast sponge (1 cup wild yeast starter + 1 cup bread flour, whole wheat flour or all-purpose flour + 1 cup water)2 cups bread flour, whole wheat flour or all-purpose flour
2 Tablespoons agave syrup or maple syrup (if making sandwich bread)
1 Tablespoon vegetable oil
1 teaspoon salt (1 ¼ teaspoons salt if making sandwich bread)
Bread Wash
1 Tablespoon non-dairy milk1 Tablespoon agave syrup, maple syrup, barley malt syrup or brown rice syrup
1) Make Your Dough
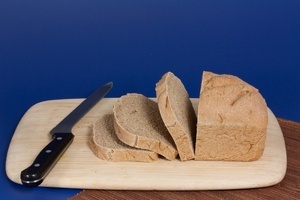
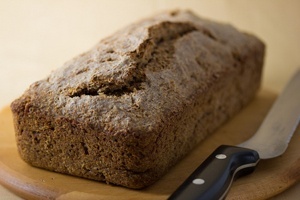
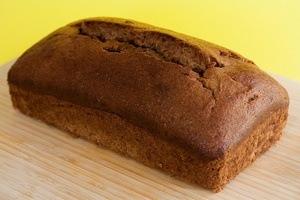
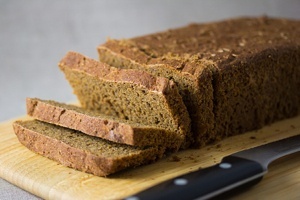
To recap on the wild yeast starter and sponge process, first we made our starter, then mixed together 1 cup starter, 1 cup water and 1 cup flour. We then allowed it to sit from 4 to 12 hours until it increased in size between 50% and 100%. We now are going to build it into our main bread dough.Transfer your wild yeast sponge to a large mixing bowl and mix in the bread flour, whole wheat flour or all-purpose flour and vegetable oil (the bread pictured was made with 100% whole wheat). If you're making sandwich bead in a loaf pan you'll want to bake at a lower temperature to make a softer crust. These lower temperatures aren't going to enable as much flavor compounds to be developed from the flour so you'll want to add other flavor enhancers like the specified amount of agave syrup or maple syrup and salt.
The dough's optimal consistency is for it to be just wet enough so that it can be kneaded by hand without sticking to your fingers. Since varying environmental factors will affect the moistness of the dough, you may need to add additional water in order for the dough to be at this optimal consistency. If you need to add water to the dough during kneading, flatten it into a disc and make a small indentation in the middle. Add 1 Tablespoon of water and fold the dough over and push it down so the dough is flattened again. Then fold over the dough again and push to flatten. Do this a couple more times then begin kneading as normal.
2) Knead The Dough
Knead the dough for 12 to 15 minutes on a clean, lightly floured surface. If using an electric mixer, mix for 4 minutes with a 5 to 10 minute rest, followed by another 4 minute mix. Your dough is mixed sufficiently when it's gluten is fully developed. This is indicated by making an indentation on the dough ball with your finger and seeing the dough push the indentation back.3) Allow The Dough To Rise
Coat the dough with a small amount of oil, cover with a plastic bag or a moist towel and allow it to rise for 4 to 12 hours, or until the dough has roughly doubled in size. This rise is known as a primary fermentation. Alternatively, it can sit covered in the refrigerator for 12 to 24 hours or until it doubles in size. Our primary goal is to get the dough to roughly double in size so it doesn't matter if a portion of this time the dough is spent in the refrigerator or at room temperature. Knowing this, it's easier to plan bread baking around your schedule, especially wild yeast bread baking which often takes several days. Sometimes I'll move the dough from room temperature to the refrigerator several times during he primary fermentation and proofing stages depending on how busy I get with other things. When it's done rising do not degass the dough by squeezing the gasses out of it; we'll want to maintain the rise as much as possible and handle it extremely carefully from now on.4) Proof The Dough
The dough can now be gently formed into it's designated mold and allowed to sit, covered with a plastic bag for another 2 to 3 hours as part of the proofing stage or secondary fermentation. The proofing stage is where the dough takes most of it's shape. It's important to leave room under the plastic bag so the dough can rise sufficiently. As an alternative to the 2 to 3 hour proofing stage, the dough can be 'retarded' by placing it in the refrigerator overnight then removed and allowed to sit for about 4 hours to get back to room temperature before going into the oven. This will allow for a more flavorful loaf, as the yeasts extract and break down starches in the flour and convert them into sugars which will then get caramelized during baking.Proof your dough until it reaches 80% to 90% of it's intended size. The other 10% to 20% rise comes from when it's baked which is known as “oven spring”. Oven spring is less significant in wild yeasted breads than it is in breads leavened with commercial yeasts. This is likely due to commercial yeasts being specifically designed to leaven bread used in larger quantities in the loaf. Proofing time will vary depending on the temperature of your kitchen. Every 17F (8C) above or below 70F (21C) halves or doubles the proofing time.
5) Apply Bread Wash
A bread wash is a liquid that's applied to the top of a bread loaf that allows the crust to brown and extra flavor compounds to be developed in what is known as the Maillard reaction. The bread wash allows the sugars to caramelize which induces this browning.In a small bowl whisk together the non-dairy milk and agave syrup, maple syrup, brown rice syrup or barley malt syrup until well incorporated. Using a pastry brush, liberally coat the top of the bread with the mixture. Feel free to sprinkle rolled oats or other small grains on top of the loaf. The bread wash also has the benefit of allowing these to stick to the crust.
If you're baking this bread at 400F (204C) or higher (and not baking in a loaf pan) it's recommended that you score the bread. This can be done with a sharp paring knife, razor blade or with a designated bread baking blade, also known as a french lame. Score the top of the dough diagonally. Scoring allows the bread to rise more easily due to allowing trapped steam to escape.
6) Prepare Your Oven
If baking sandwich bread in a loaf pan
Heat your oven to 375F (191C) and remove the plastic bag covering the bread dough about 10 minutes before baking. Bake for until the internal temperature of the dough is 180-190F (82-88C) which should take about 45 minutes. Rotate the loaf 180 degrees in the oven halfway through the baking duration for even baking.If baking artisan bread not in a loaf pan
Artisan breads (not including sandwich loaf bread) rely on about 80% of their success on their dough and 20% of their success to how they're baked in an oven. This is in contrast to regular baking which involves about 95% of it's success to it's ingredients and preparation and 5% to how it's baked in the oven. This means that how you bake your bread can often make a big impact on the final outcome of the loaf. With breads that are baked at 400F (204C) or higher It's important to do a few things in your oven to encourage steam so the crust doesn't harden and 'lock' the dough underneath and keep it from rising.Heat your oven to 500F (260C) and remove the plastic bag covering the bread dough about 10 minutes before baking. Place a metal baking dish filled with about an inch of near-boiling water on the bottom rack. This will create steam which will reduce the amount of your bread's crust from prematurely crisping and inhibiting rising. Right before placing your bread in the preheated oven, create a blast of steam: Fill a spray bottle with water and spray the back and sides of the inside of the oven, taking extra care not to spray any glass oven windows or lights that may shatter from the cooler water. Immediately after creating this steam, close the oven door for 30 seconds. Repeat this steaming step two more times then turn the oven heat down to 450F (232C). Bake for until the internal temperature of the dough is 200-210F (93-99C) when measured with an instant-read thermometer. This should take about 25 to 30 minutes. Rotate the loaf 180 degrees in the oven halfway through the baking duration for even baking.
This bread is best stored covered in a cool dark place or pre-sliced and stored in a plastic freezer bag in the freezer. This recipe makes one loaf of Wild Yeasted Wheat Bread.


