Toasted Coconut Milk
2
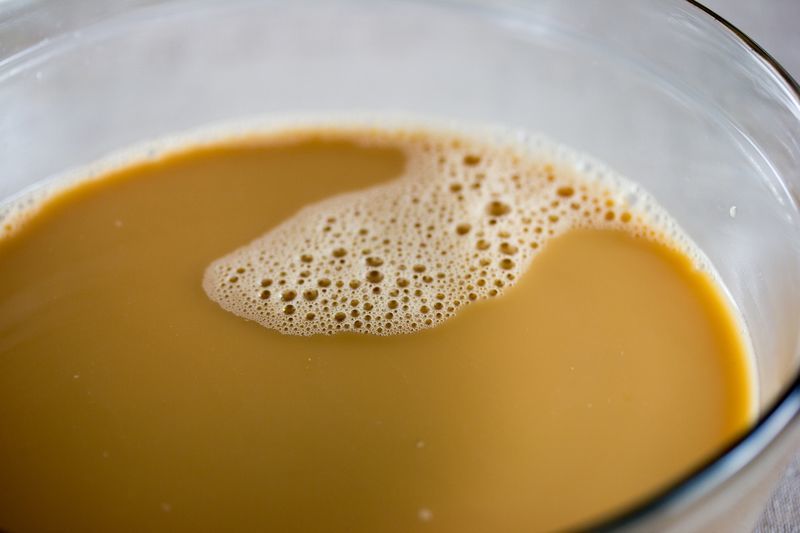
Leveraging toastiness can be a powerful tool for creating rich, complex flavors. Toastiness is often defined in dictionaries as “comfortably or cozily warm”. I think it’s pretty cool how this definition describes the actual food flavor so spot-on. When you combine toastiness with coconut, you’d better watch out; you’re in for a burst of rich toastiness with a lingering creamy coconut finish that can fade into maltiness. Perfect for kicking your vegan baking up a notch or three!
Why confine toasted coconut to coconut flour? By making coconut milk out of toasted coconut flour, we’re able to apply this rich, complex creamy toastiness to a much wider array of vegan baking applications. Ice creams, cakes, puddings, cream sauces, pancakes; any food that uses a large proportion of liquid can take advantage of toasted coconut milk in place of regular non-dairy milk. You can even put it in your breakfast oatmeal where it’ll add a rich, savory maltiness. But how does this flavor come to be?
A primer on flavor
It’s important to note here an important summary of the definition of flavor: taste + aroma = flavor. Taste consists of the five or so flavors perceived by your tongue which are sweet, sour, salty, bitter and umami. Aroma includes volatile compounds that are perceived in the olfactory bulb, where it’s known as your sense of smell. Your olfactory bulb, located behind your nose, is capable of picking up at least hundreds of aromas.
It’s easy to think that most of what we taste is sensed in the mouth. I mean, I know I’m tasting it there because I feel it there! This is a fascinating trick that the body plays; the olfactory bulb picks up most of what we perceive as flavor. It’s actually processed in your brain and your brain tells you that you’re tasting it in your mouth. Silly body! Always playing tricks on everyone.
Volatile flavor compounds fit into receptors in the olfactory bulb like keys fit into a lock. This ends up triggering what we perceive as flavor. Think of aroma as microscopic keys floating around in the air just waiting to plug into our olfactory bulbs. When several of these volatile compounds fit into the olfactory receptors at a time, it can be the flavor equivalent of playing a chord on a guitar or piano, where the collective notes are more than the sum of their parts. The result is yuuuuummm!

The blueprint for toastiness: the Maillard Reaction
It’s the maillard reaction, also known as maillard browning, due to the darkter colors generated, that enables these flavors to be created. This chemical reaction creates a multitude of new taste and especially aroma compounds, many of which are super small, lightweight and hence, volatile. A compound is volatile when it’s easily evaporated into the surrounding environment at normal temperatures. Not only are you going to get new tastes developed during the maillard reaction, you’re also going to get more volatile aroma particles that are going to make a very large impression of overall flavor.
The maillard reaction needs a few variables to be aligned in order to occur. The recipe for a healthy maillard reaction calls for:
- A bit of protein to supply amino acids
- Certain naturally-occurring simple sugars
- A bit of heat (usually)
- As little water as possible
These variables are required because the maillard reaction is all about proteins breaking down and letting go of their amino acids which react with simple sugars in the presence of dry heat. The result is taste, aroma, and dark color. The taste and aroma results in complex flavor. The variables needed for the maillard reaction are really small; you don’t need to seek out high-protein foods or foods that have a noticeable amount of sugar.
Most foods that are dry and exposed to heat will exhibit maillard reactions to some degree. Dairy-based dry milk powder is one of the rare ingredients that doesn’t require excessive heat in order for the maillard reaction to occur. If you’ve ever noticed bakeries where cakes on display have sat in the window for too long and white frosting is fading to brown, this is why. In this case, making display cakes without milk protein and lactose sugar in the frosting would keep this browning from occurring.
Most foods that are dry and exposed to heat will exhibit maillard reactions to some degree. Dairy-based dry milk powder is one of the rare ingredients that doesn’t require excessive heat in order for the maillard reaction to occur. If you’ve ever noticed bakeries where cakes on display have sat in the window for too long and white frosting is fading to brown, this is why. In this case, making display cakes without milk protein and lactose sugar in the frosting would keep this browning from occurring.
Foods that are in contact with water will not allow maillard reactions to occur. Think of chefs that are always saying “don’t crowd the pan” when sautéeing. They say this because too much crowding will allow the food to steam, which will not only keep the temperature of the food from rising above the boiling point, it also keeps the food moist which inhibits maillard reactions. Lower temperatures + higher water content = food that’s not as tasty as it could be due to a lack of maillard reactions. This is one of the reasons why there’s such a huge flavor difference between steaming and roasting.
Luckily for us, it’s really easy for us bakers to leverage the maillard reaction for baking ingredients. Foods like nuts, flour and coconut work particularly well. For instance, toasting corn flour to use in corn bread will lend another layer of savory corn flavor. Toasting pecans for pecan fudge will allow the pecans to cut through the intensity of the fudge, creating a more decadent overall flavor. With toasted coconut milk, we’re taking advantage of toasted coconut and creaminess to add a rich, silky, malty base to almost any dessert.
Luckily for us, it’s really easy for us bakers to leverage the maillard reaction for baking ingredients.
Find more Coconut recipes on Veganbaking.net
Toasted Coconut Milk Recipe
Yield: 2 ½ cups (600 ml)¾ cup + 1 Tablespoon (about 120 grams) toasted coconut flour
4 cups water (946 ml)
¼ cup water (57 ml)
1) Toast your coconut flour
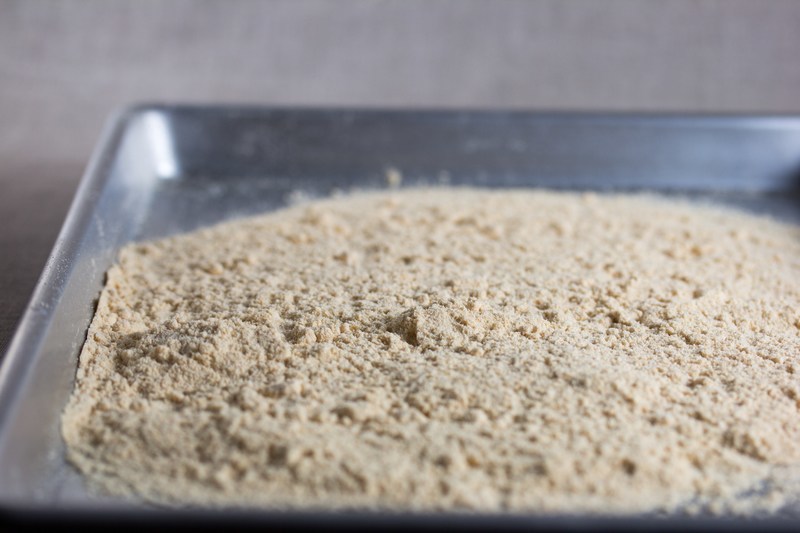
Preheat your oven to 300F (149C). Distribute the coconut flour so it’s evenly dispersed on the baking sheet, no more than a ½ inch deep. Place the baking sheet in the oven for 20 minutes, rotating once halfway through the baking time.
TIP: If you’re toasting a larger amount of coconut flour called for in this recipe, use more than one baking sheet and make sure to rotate them to different racks throughout the baking duration for even toasting.
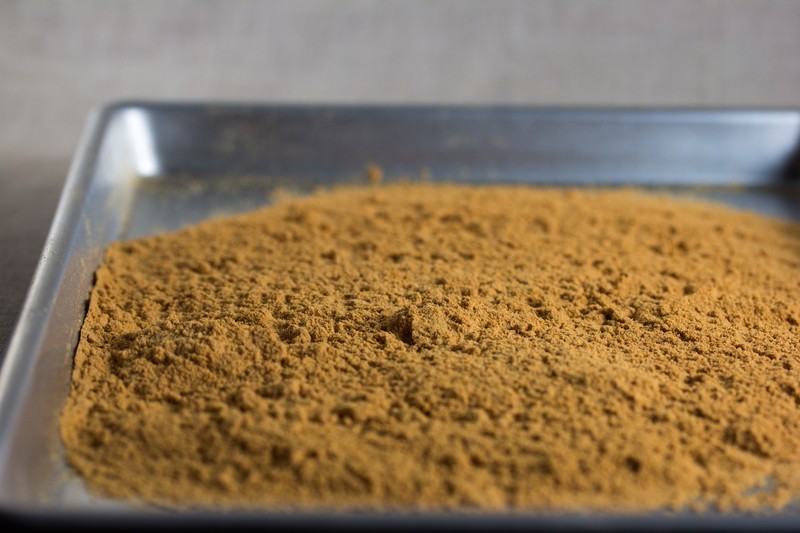
Learn more about toasting coconut.
2) Prepare your colander
Add the toasted coconut flour to a blender and set aside. Line a colander with two layers of cheesecloth and place the colander in a bowl so there is room for the coconut milk to drain. Here’s the colander I recommend.
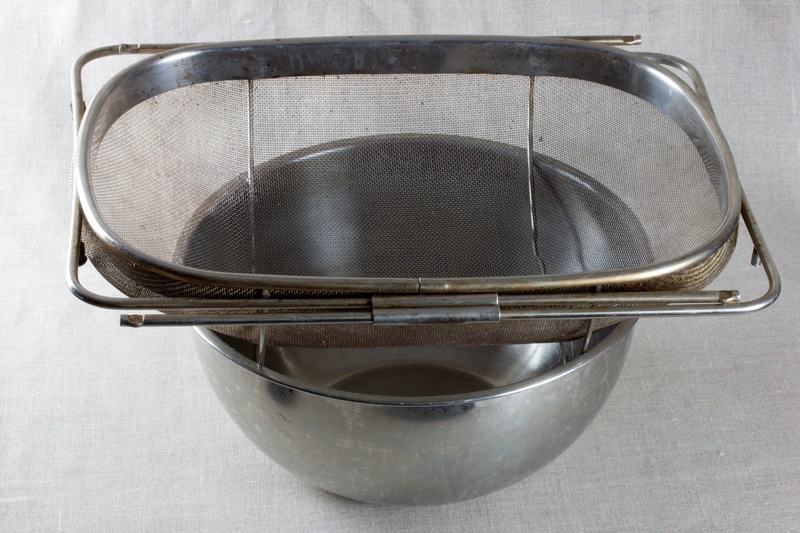



3) Boil your water
In a kettle or medium saucepan, add 4 cups water and place over high heat, covered until the water boils.
4) Blend the toasted coconut flour
Transfer the water to the blender and blend on high for 1 minute. Be especially careful here and place a folded towel over the top of the blender to catch any spillovers. Start the blender slow and work up to high to ensure that the liquid doesn’t splash through the top of the blender.
5) Strain your toasted coconut milk from the coconut solids
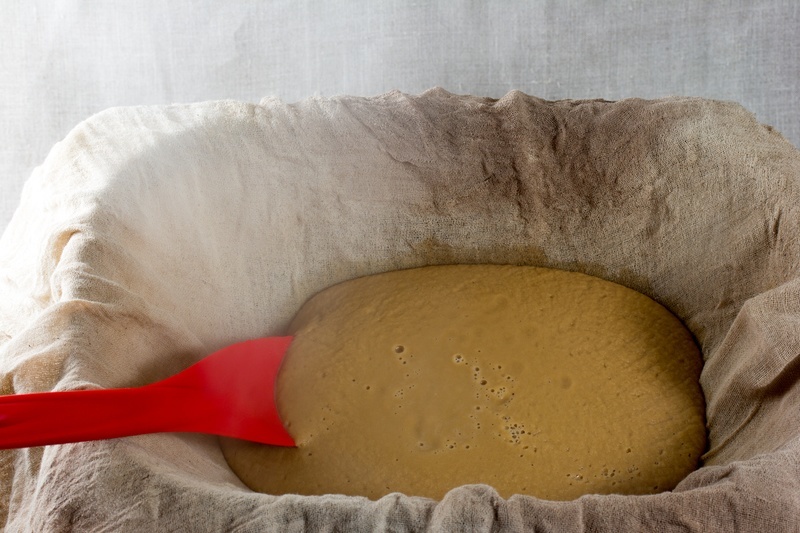
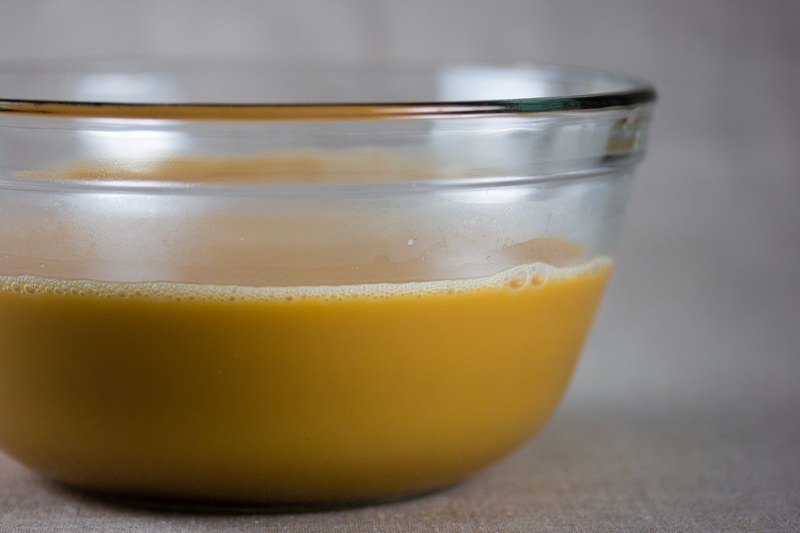
Transfer the hot coconut mixture to the colander and allow it to drain. Running a spatula along the inside cheesecloth surface will allow it to drain faster. Once some of the liquid has drained, add the ¼ cup water to the blender and blend to clean it out. Now transfer this water to the colander and stir it into the mixture. This trick allows you to get a slightly higher extraction rate out of your toasted coconut flour. Once the draining has subsided and the coconut mixture in the colander is cool enough to touch, fold all four sides of cheesecloth over the top of the coconut mixture, twist it and use your hands to squeeze out as much toasted coconut milk as you can.
